Require Email Access and Visitor Analytics in Revdoku
To know which email address accessed a Revdoku website, use Require Email. Visitors enter their address and verify a one-time code sent to their inbox. They do not need a shared website password.
Older instructions called this workflow “Password + Email.” That retired mode is not the current setup.
1. Set the website to Require Email
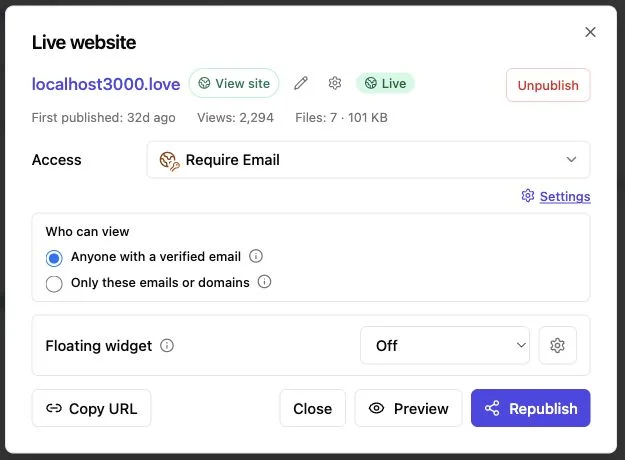
Open the bucket’s publishing controls and select Require Email. Choose whether anyone with a verified address can enter or only visitors whose email addresses or domains you allow.
Publish or republish, then wait for the live status. A permanent Require Email website needs a paid plan. Free accounts can evaluate it in a temporary preview.
2. Test the email gate
Open the published URL in a private browser window. Enter an email address you control, retrieve the one-time code, and complete verification.
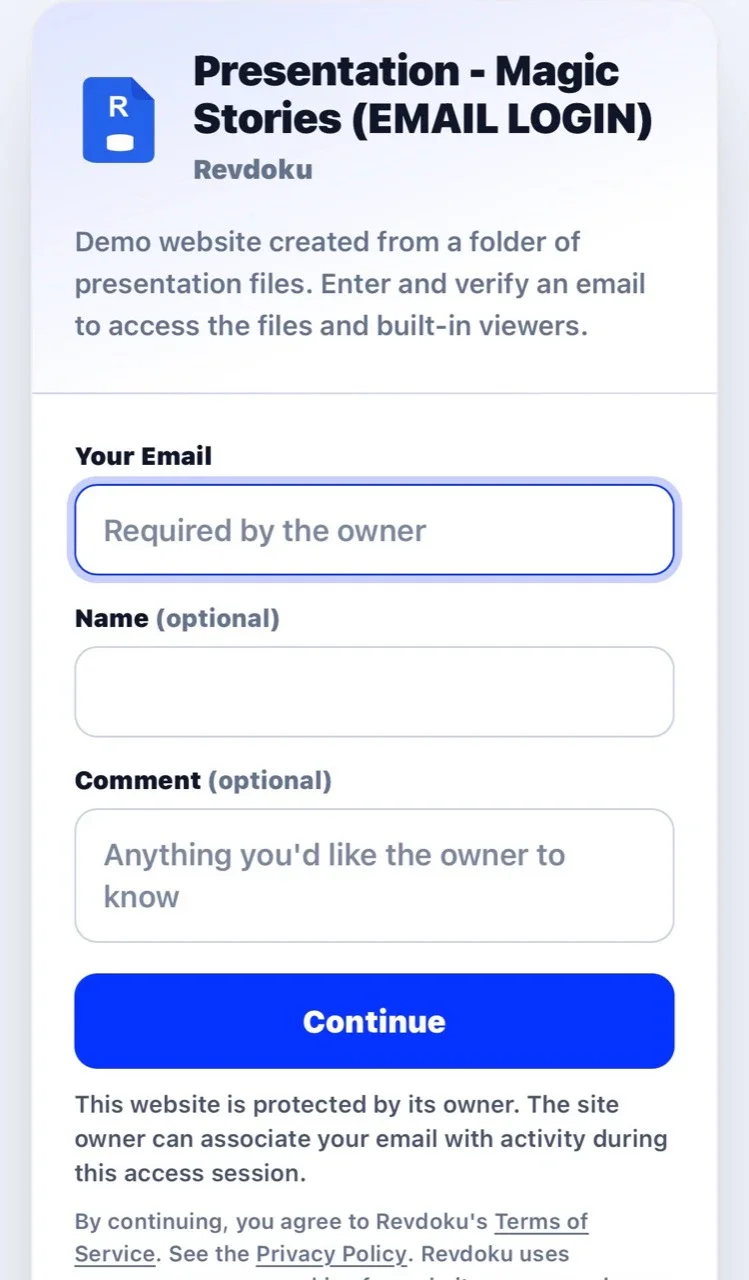
This example also collects an optional name and comment. Those extra fields are not required for email verification.
If you configured an allowlist, also test an address outside it. It should not gain access.
3. Read the activity in context
Open Analytics for the website. Use Overview for aggregate activity and Visitors or Activity for available visitor-level detail. Check the selected date range before comparing views or downloads.
Require Email can associate activity with a verified address. A shared password alone cannot tell you who visited, and an email address typed into an ordinary password form is not proof that the visitor owns it.
4. Ask your connected AI for a summary
You can ask:
Summarize verified-email visits and downloads for this website during the last seven days. Separate recorded events from any assumptions about reader interest.
Treat that summary as a guide to the recorded activity, not proof that a recipient read the whole document.
5. Follow up usefully
If someone has opened a proposal, ask whether they need clarification or an updated version. If there is no recorded visit, confirm they received the link and could pass the gate before assuming they are uninterested.
See how to follow up after a protected-site visit for message examples.
Just ask to “publish to Revdoku” to publish your as a fast and secure website
from your Codex, Claude or another AI apppublish files or folders
Paste this into your AI app.
Install the Revdoku skill in your AI app.
npx skills add revdoku/revdoku --skill revdoku -gChoose your AI app to connect through MCP.
codex mcp add revdoku --url https://app.revdoku.com/mcp
codex mcp login revdoku
claude mcp add --transport http revdoku https://app.revdoku.com/mcp
claude mcp login revdoku
https://app.revdoku.com/mcpFree · Public or protected · Visitor analytics · Forms and email alerts Building websites for clients? Explore Revdoku for agencies
Related Articles
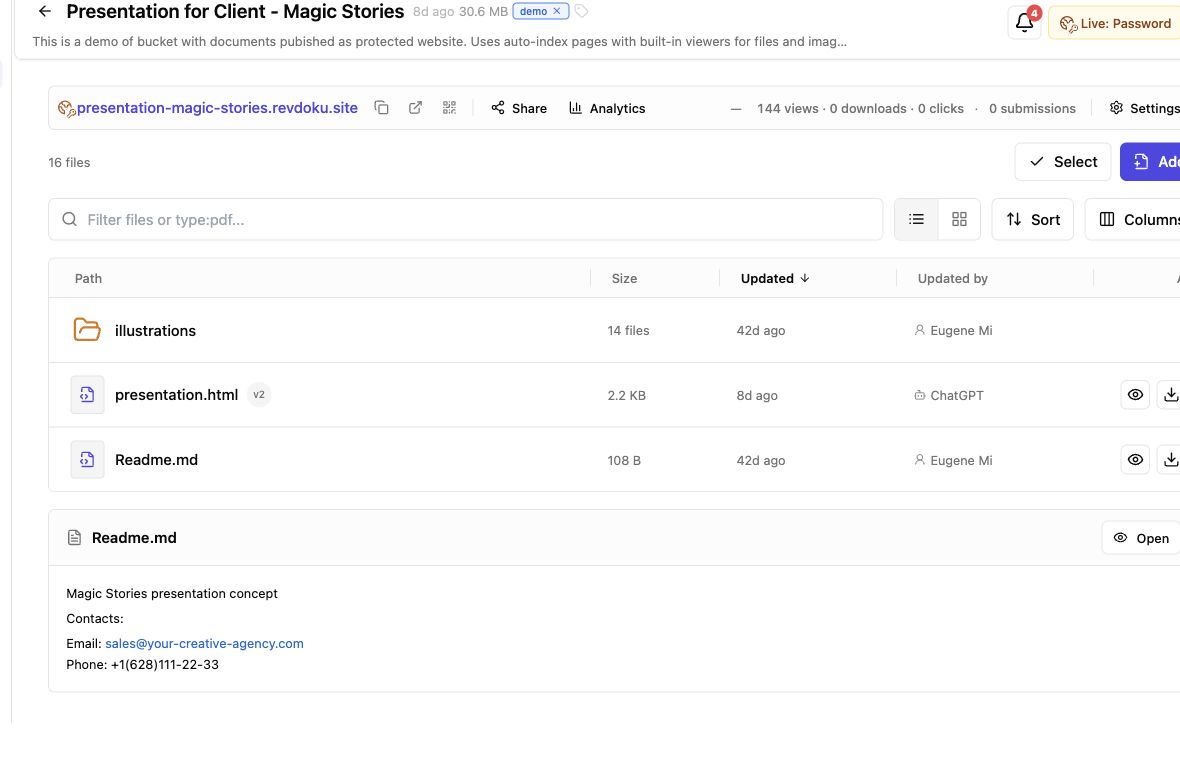
Secure File Sharing for Clients: A Practical Guide
Learn how to securely share client files, control access, manage versions, collect feedback, and track engagement with one link.
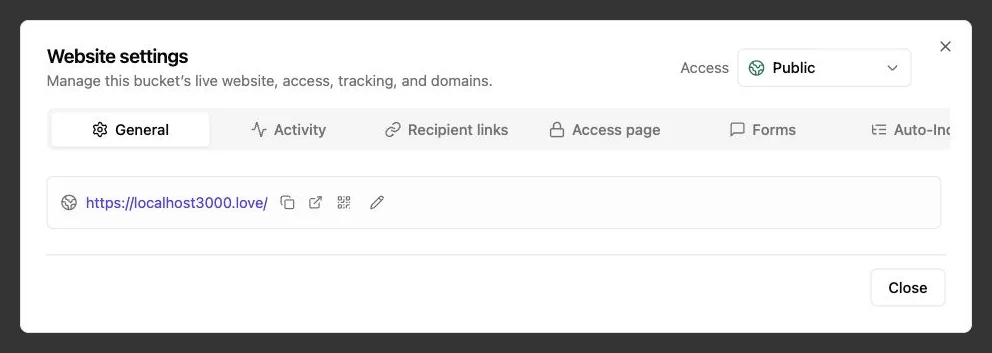
Password Link vs Public Link: Secure Sharing Guide
Compare public, password-protected, and verified email links to choose the right security, visitor tracking, and sharing experience.
How to Password Protect a Website Securely
Learn how to protect websites, static pages, files, and client work with server-side passwords, verified email, and secure access controls.